
Although updating Avada is normally a simple task, the process doesn’t always go smoothly. A failed update, missing update notifications, permission errors, plugin conflicts, or layout issues can all prevent the latest version from installing correctly or cause unexpected problems afterward. In most cases, however, these errors are related to your WordPress environment or server configuration rather than Avada itself. If you’re looking to fix an Avada theme update error, this guide covers the most common causes. It provides practical, step-by-step solutions to help you update the theme successfully and reduce the risk of similar issues in the future.
1. What Is an Avada Theme Update Error?
An Avada theme update error refers to any issue that prevents WordPress from successfully downloading, installing, or activating a newer version of the Avada theme. Depending on the cause, the update may fail, stop midway, or finish with missing styles, broken layouts, or compatibility issues.
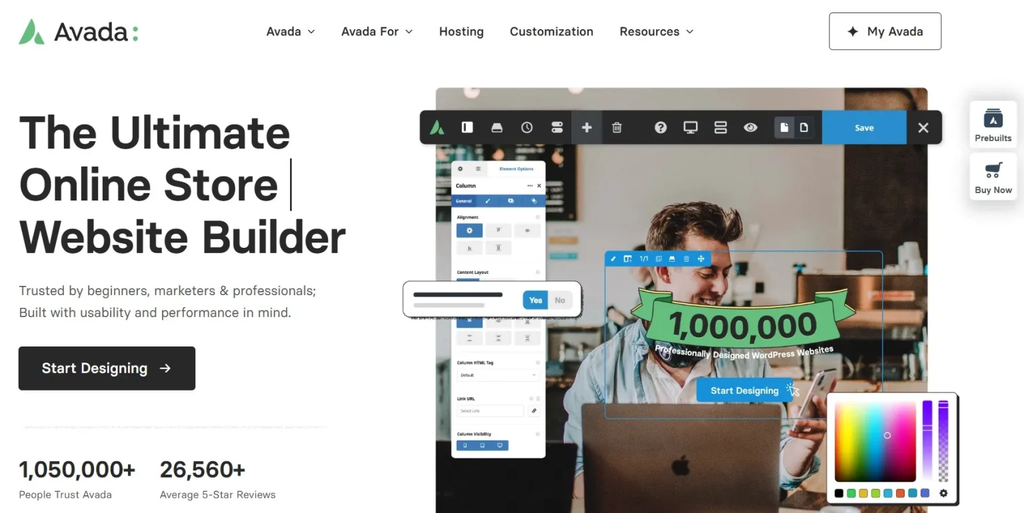
Common causes include registration problems, limited server resources, incorrect file permissions, plugin conflicts, cached files, and incomplete manual installations. Identifying the root cause first makes it much easier to update Avada successfully while keeping Avada Core and Avada Builder fully compatible.
2. What to Check Before Fixing an Avada Theme Update Error
Before making any changes, take a few minutes to prepare your website. Many Avada update problems are caused by server limitations, incomplete backups, or compatibility issues that can be identified before the update even begins. A quick pre-update check not only reduces the risk of downtime but also makes troubleshooting much easier if something goes wrong.
2.1 Back Up Your Website First
Always create a full backup of both your WordPress files and database before updating Avada. If the update fails or causes unexpected issues, you can quickly restore your website without losing important content or settings.
Whenever possible, test the update on a staging site instead of your live website. This allows you to identify plugin conflicts, custom-code issues, or layout changes in a safe environment before applying them to your production site.
2.2 Check Your Server and WordPress Environment
Next, verify that your hosting environment is ready for the update. Make sure your website has enough available storage, is running a supported PHP version, and has sufficient memory, upload limits, and execution time. Limited server resources or restrictive file permissions are among the most common reasons an Avada update fails.
It’s also worth checking that your WordPress installation, required plugins, and server software are compatible with the version of Avada you’re planning to install.
2.3 Confirm That You Have Access to the Required Files
Before starting the update, make sure you can access the Avada registration area, your hosting control panel, and the latest legitimate theme package if a manual installation becomes necessary. Having these details ready will make it easier to move between troubleshooting methods without interrupting the process.
It is also useful to keep a default WordPress theme installed but inactive. If Avada causes a temporary error after the update, you can switch to a different theme while reviewing plugins, custom code, or server logs.
3. Step-by-Step Guide to Fix Avada Theme Update Error
Step 1 – Check the Avada Registration Status
Before attempting any update, verify that your Avada installation is properly registered. Log in to the WordPress Dashboard, open the Avada registration area, and make sure the theme is connected to a valid purchase code.
After registering Avada, return to the update section and check for the latest version. If the update does not appear immediately, refresh the WordPress update page and check for updates again. Sometimes WordPress simply needs to refresh its update information.
Step 2 – Clear Cached Update Data
Cached update information can prevent WordPress from displaying the latest Avada release or make it appear that an update has not been applied correctly. Clear your browser cache, WordPress caching plugin, server cache, and CDN cache if applicable.
After clearing the temporary data, return to Dashboard > Updates and ask WordPress to check again. If the theme has already been updated but the design still looks outdated, clear the Avada-generated cache and rebuild its CSS files where necessary.
Step 3 – Update Avada Through the WordPress Dashboard
Once the latest version appears, update Avada through Dashboard > Updates or the theme’s update area. Avoid closing the browser tab or interrupting the process while WordPress is downloading and replacing the theme files.
After the update finishes, open the Avada plugin management area and install any available updates for Avada Core and Avada Builder. Keeping these components compatible with the parent theme helps prevent missing features, builder errors, and unexpected layout changes.
Step 4 – Temporarily Disable Conflicting Plugins
Plugin conflicts can also cause Avada update failures. Security, caching, firewall, and optimization plugins may interfere with the update process.
Temporarily deactivate non-essential plugins and try updating Avada again. If the update succeeds, reactivate the plugins one by one to identify the conflict. For live websites, consider testing this process on a staging site first.
Step 5 – Check File and Folder Permissions
If the error message mentions permissions, the server may not allow WordPress to modify or delete the existing Avada theme files.
In this situation, check the permissions of the WordPress themes directory and the Avada theme folder. Your hosting provider can help verify whether the web server has the correct permissions to update files.
Permission problems can also affect Avada plugin updates. The official Avada documentation notes that failed plugin updates that cannot delete old files may indicate a server folder permissions issue.
Step 6 – Update Avada Manually Through FTP
If the automatic update continues to fail, the next option is to replace Avada manually through FTP or your hosting file manager. Download the latest Avada installation package, connect to your server and open /wp-content/themes/.
Back up the existing Avada folder before removing it, then upload the new version. Avoid simply overwriting the old folder, as outdated files may remain and cause errors. Keep the theme folder name as Avada to prevent path-related issues.
After uploading the new files, update the Avada Core and Avada Builder plugins.
Step 7 – Check Child Theme Compatibility
If Avada updates successfully but the website develops errors afterward, check whether the child theme or its custom code is compatible with the new version.
A child theme is designed to preserve customizations while the parent theme is updated. However, outdated PHP template files or custom code inside the child theme can cause display problems or fatal errors after the parent theme changes.
Once the parent Avada theme has been updated, reactivate the child theme and thoroughly test the website. If problems arise, review the custom code and template overrides to ensure compatibility with the new version.
4. How to Prevent Avada Update Problems in the Future
Once the issue has been resolved, a consistent update routine can help prevent it from happening again. Test major theme releases on a staging site, especially when the website includes WooCommerce features, custom code, or a large number of plugins.
Keep Avada, Avada Core, and Avada Builder on compatible versions rather than updating only one component. Any PHP, CSS, or template customizations should also be stored in a child theme rather than the parent Avada files, which could be overwritten.
After each update, clear generated caches and review the pages that matter most to your website. Check navigation, forms, shop features, custom layouts, and mobile responsiveness before considering the update complete.
5. Tools That Make Avada Updates Safer
Most Avada updates only take a few minutes, but the right tools can make recovery much easier when something goes wrong. Whether you manage one website or several client projects, a reliable backup solution, a staging environment, and direct access to your website files can reduce downtime and direct access to your website files can reduce downtime and give you more control over updates.
5.1 Backup Solution
A reliable backup solution should always be part of your update workflow. Before installing a new version of Avada, create a complete backup of both your website files and database. Plugins such as UpdraftPlus or Duplicator Pro make it easy to create and restore backups if an update causes unexpected compatibility issues.
5.2 Staging Environment
Testing updates on a staging site is one of the safest ways to avoid unexpected problems on a live website. If your hosting provider doesn’t include staging, plugins like WP Staging Pro can help you create a safe testing environment to verify Avada, Avada Core, Avada Builder, and your customizations before deploying changes to your live website.
5.3 FTP Client or Hosting File Manager
When the automatic updater isn’t working, an FTP client or your hosting file manager gives you direct access to the WordPress installation. Tools such as FileZilla allow you to replace the existing Avada files with a clean copy, verify the theme folder structure, and troubleshoot update failures that can’t be resolved from the WordPress dashboard. Just remember to back up before replacing any theme files.
6. FAQs
1. Why won’t my Avada theme update automatically?
Automatic updates can fail for several reasons, including an unregistered Avada installation, limited server resources, incorrect file permissions, plugin conflicts, or cached update information. If the automatic update doesn’t work, check your registration status, clear your cache, and consider performing a manual update via FTP.
2. Can I fix an Avada theme update error without losing my website?
Yes. In most cases, you can resolve the issue without affecting your website content. Before making any changes, create a complete backup of your files and database. This allows you to quickly restore your website if something goes wrong during troubleshooting.
3. Do I need to update Avada Core and Avada Builder at the same time?
Yes. Avada Core and Avada Builder are required components that should stay compatible with your installed Avada version. After updating the theme, check for available plugin updates to avoid compatibility issues or missing functionality.
4. Why does my website look broken after updating Avada?
This is often caused by cached CSS or JavaScript files, outdated plugins, or incompatible custom code rather than the update itself. Clear all website caches, rebuild any generated CSS if necessary, and verify that your plugins and child theme are compatible with the latest Avada release.
5. Where Can I Download Avada?
You can download Avada from the official source or choose a trusted GPL provider if you prefer a more flexible licensing option. PluginPro offers GPL downloads of Avada starting from $4.5 per item, along with membership plans for users who need access to multiple premium WordPress themes and plugins.
7. Conclusion
Fixing an Avada theme update error becomes much easier once you identify whether the problem comes from registration, caching, server permissions, plugin conflicts, or the theme files themselves. Start with the least disruptive checks before moving to a manual FTP update or reviewing child theme customizations.
For safer updates in the future, keep Avada and its required plugins up to date, test major changes on a staging site, and maintain a recent backup that can be restored quickly.
For users who need access to Avada and other premium WordPress products, PluginPro offers a convenient GPL library with individual downloads and membership options. Explore PluginPro to find the tools you need to build, update, and maintain your WordPress websites.