
Installing a WordPress directory theme involves more than uploading and activating a theme. If you are searching for how to install ListingPro, this step-by-step guide explains how to prepare your WordPress website, install the theme, configure the plugins required for your setup, import demo content, and verify the installation.
ListingPro is a WordPress theme designed for business directories and listing websites. Its Easy Setup Assistant can help with the initial configuration process, including plugin installation and optional demo content import. This guide covers both standard installation methods and provides practical solutions for common installation problems.
1. Requirements Before Installing ListingPro
Before starting the ListingPro installation, prepare your WordPress website and hosting environment. Completing these checks can help reduce installation and configuration problems.
1.1. A Working WordPress Installation
ListingPro requires an existing WordPress website. If you have not installed WordPress yet, complete the installation through your hosting provider.
For a new directory website, consider using a fresh WordPress installation. This can reduce the possibility of conflicts with existing themes, plugins, and custom configurations.
If you are installing ListingPro on an existing website, create a complete backup of your files and database before proceeding.
1.2. A Compatible Hosting Environment
Check that your hosting environment meets the requirements documented for your ListingPro version.
Review the relevant server settings, including:
- PHP version
- MySQL or MariaDB version
- WordPress version
- PHP memory limit
- Maximum file upload size
- Maximum execution time
Exact requirements can vary between versions. Check the documentation for your version of ListingPro rather than relying on generic hosting recommendations.
If your hosting environment does not meet the documented requirements, contact your hosting provider before proceeding.
1.3. The ListingPro Theme ZIP File
You also need the ListingPro theme installation package.
If you obtained the theme from PluginPro.org, download the available package and locate the installable listingpro.zip file.
Some download packages may contain documentation and additional files alongside the actual WordPress theme. WordPress cannot install the complete package if it does not contain the expected theme structure.
Make sure you identify the correct installable ZIP file before starting the installation.
2. How to Install ListingPro Theme
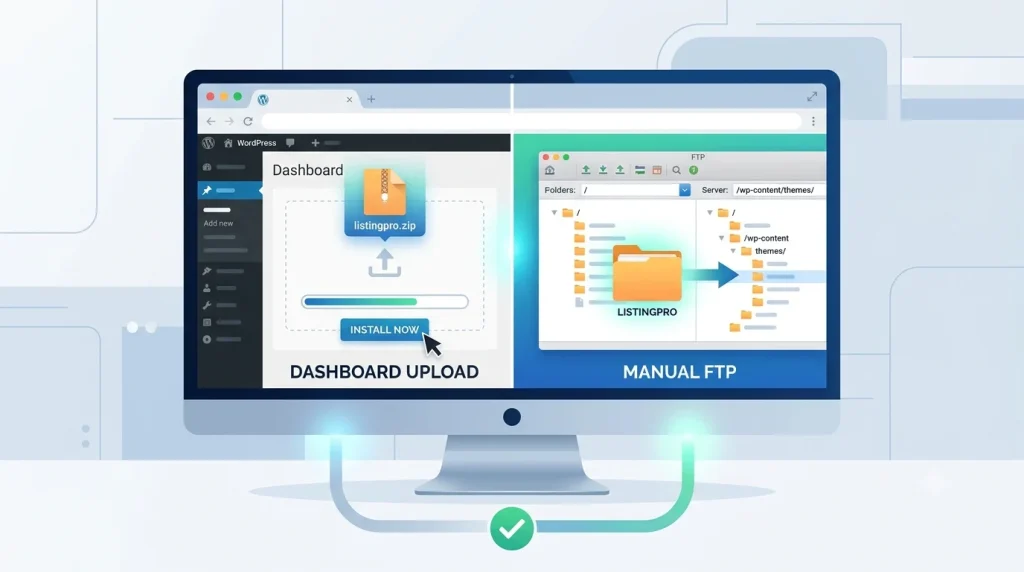
There are two main ways to install ListingPro: uploading the theme through the WordPress dashboard or installing it manually using FTP or your hosting control panel.
The dashboard method is generally more convenient for beginners. Manual installation is a useful alternative when the standard WordPress upload process fails or the theme ZIP exceeds the server’s upload limit.
2.1. Method 1: Install ListingPro Through the WordPress Dashboard
Follow these steps to install ListingPro directly from your WordPress administration panel.
Step 1: Log in to WordPress
Open your WordPress login page and enter your administrator credentials.
After logging in, you will see the WordPress dashboard.
Step 2: Open the Themes Section
From the left-hand menu, navigate to:
Appearance > Themes
Click Add New at the top of the page.
Step 3: Upload the ListingPro Theme
Click Upload Theme to open the theme upload interface.
Select Choose File and locate the listingpro.zip file on your computer.
If your download contains multiple files, extract the package first and select the installable theme ZIP rather than uploading the complete download package.
Step 4: Install the Theme
After selecting the correct file, click Install Now.
WordPress will upload and install the theme. Wait until the installation process finishes.
If WordPress reports that the uploaded file exceeds the server’s limit, either ask your hosting provider to increase the limit or use the manual installation method described below.
Step 5: Activate ListingPro
Once the installation is complete, click Activate.
ListingPro will become the active WordPress theme. Depending on your ListingPro version, activation may take you to the Easy Setup Assistant or display the setup options in the WordPress dashboard.
You can then continue with the initial configuration.
2.2. Method 2: Install ListingPro Manually Using FTP
If you cannot upload the theme through the WordPress dashboard, you can install it manually using FTP or your hosting control panel.
This method requires access to your website’s server files.
Step 1: Extract the Theme ZIP File
Locate the listingpro.zip file on your computer.
Extract the ZIP file to obtain the ListingPro theme folder.
Use the extracted theme folder for the manual installation rather than uploading the ZIP file directly into the themes directory.
Step 2: Connect to Your Website
Use an FTP client or your hosting control panel’s file manager to access your website’s files.
Navigate to:
/wp-content/themes/
This is the standard directory where WordPress stores installed themes.
Step 3: Upload the ListingPro Folder
Upload the extracted ListingPro theme folder to /wp-content/themes/.
Wait until all files have been transferred successfully.
Check that the theme folder is located directly inside the themes directory and contains the theme files, including style.css.
Avoid creating an extra nested directory such as:
/wp-content/themes/listingpro/listingpro/
An incorrect directory structure can prevent WordPress from recognizing the theme correctly.
Step 4: Activate ListingPro
Return to your WordPress dashboard and navigate to:
Appearance > Themes
Find ListingPro in the list of installed themes and click Activate.
After activation, continue with the setup options available for your ListingPro version.
3. How to Complete the ListingPro Setup
Installing and activating the theme is only the first part of the process. You may also need to install plugins, configure the website, and optionally import demo content.
3.1. Complete the Easy Setup Assistant
Depending on your ListingPro version, activation may open the Easy Setup Assistant.
The setup process can guide you through installing the plugins required for the available ListingPro functionality and, where supported, importing dummy content.
Follow the instructions displayed by the setup interface.
If you want to use the available demo as a starting point, continue with the demo import step. If you prefer to build the website from scratch, skip the demo import and configure the website manually.
If you skip the demo import, you may need to create and configure a static homepage to reproduce the homepage layout, banner, and search functionality shown in the demo.
If the setup assistant does not appear automatically, first confirm that ListingPro is active. Then check the documentation and setup instructions for your installed version.
3.2. Install the Plugins Required for Your Setup
ListingPro works with several plugins and integrations. The exact plugins available or required can depend on the theme version and the functionality you want to use.
The available ListingPro package may include or integrate with products such as:
- ListingPro Plugin
- ListingPro Ads
- ListingPro Reviews
- ListingPro Appointments
- ListingPro Lead Form
- Redux Framework
- WPBakery Page Builder
- Elementor
- Nextend Connect
This list should not be treated as a requirement to install every available plugin. Install the plugins required by your particular ListingPro configuration and the features you intend to use.
During the initial setup, select the option to install the required plugins when it is provided. Follow the instructions displayed by the setup process and wait until the installation is complete.
If you need to install a plugin manually, navigate to Plugins > Add New in your WordPress dashboard. Upload the relevant installation package when required, click Install Now, and then activate the plugin.
If a plugin fails to install, review the displayed error before trying again. The error message can help identify whether the problem is related to the installation package, WordPress configuration, server limits, or another dependency.
3.3. Import ListingPro Demo Content
Importing demo content is optional, but it can provide a starting point for building a directory website.
Depending on the available demo package, the import process can create sample pages and listings that you can later replace with your own content.
To import demo content:
- Open the Easy Setup Assistant or the relevant demo import option available in your ListingPro installation.
- Complete the plugin installation required by your setup.
- Select the option to import dummy or demo content.
- Follow the instructions displayed by the importer.
- Wait for the import process to finish.
- Return to your WordPress dashboard and review the imported content.
Before importing demo content, back up your website if it already contains important information.
After the import, review the generated pages and replace sample content with your own business information, images, and listings.
If you prefer to create the website from scratch, skip the demo import and configure the homepage and other pages manually.
4. How to Verify Your ListingPro Installation
After completing the installation and initial setup, check your website to make sure the theme and required functionality are working correctly.
Start by opening your website in a new browser tab.
Check the following:
- Theme activation: Go to Appearance > Themes and confirm that ListingPro is active.
- Homepage: Verify that the homepage loads without errors and displays the expected layout.
- Navigation: Check that menus and internal links work correctly.
- Required plugins: Confirm that the plugins required for your chosen configuration are installed and activated.
- Demo content: If you imported a demo, check that the imported pages and sample listings appear correctly.
- Responsive layout: Open the website on a mobile device or use your browser’s responsive testing tools to check smaller screen sizes.
If you skipped the demo import, some homepage elements may not appear automatically. Configure the static homepage and related settings as necessary.
Once these checks are complete, you can proceed with customizing the directory and configuring its listing functionality.
5. Common ListingPro Installation Problems and Solutions
Although the installation process is generally straightforward, errors can occur when the wrong installation package is uploaded or when the server environment does not meet the requirements.
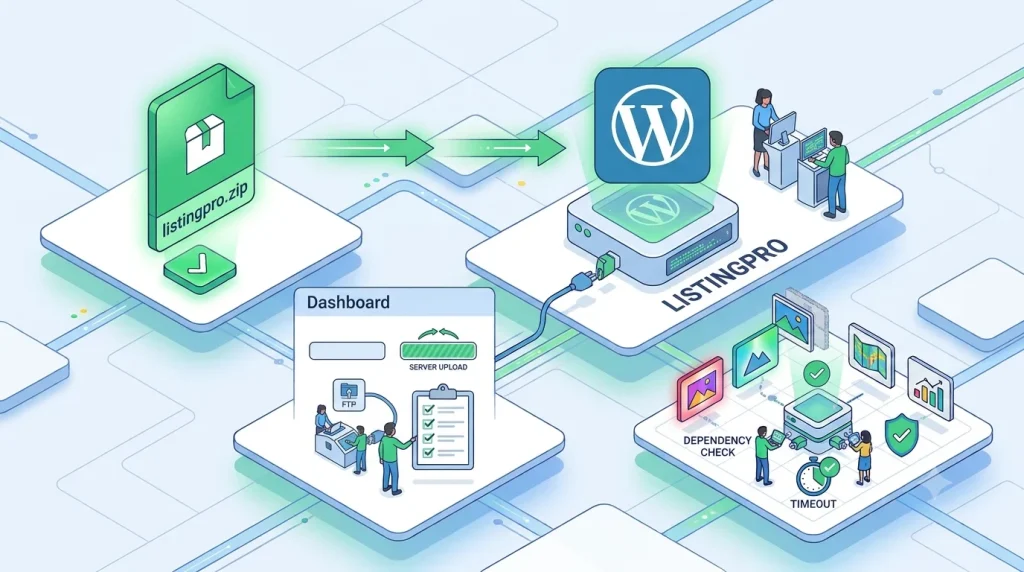
5.1. The Theme Is Missing the style.css Stylesheet
One common WordPress installation error is:
“The package could not be installed. The theme is missing the style.css stylesheet.”
This error can occur when you upload the wrong ZIP file.
Some theme download packages contain documentation and additional files alongside the actual WordPress theme.
To fix the problem:
- Extract the original download package.
- Locate the installable listingpro.zip file.
- Return to Appearance > Themes > Add New > Upload Theme.
- Upload the correct ZIP file.
- Click Install Now.
If the error continues, verify that the downloaded package is complete and that you selected the correct theme installation file.
5.2. The Upload Exceeds the Server’s File Size Limit
WordPress may display an upload-related warning when the theme ZIP exceeds the maximum file size configured by the server.
To troubleshoot the problem:
- Check the maximum upload size available in your WordPress installation.
- Compare it with the size of the ListingPro ZIP file.
- If the file exceeds the available limit, ask your hosting provider whether the limit can be increased.
- Alternatively, install ListingPro manually using FTP or your hosting control panel.
Manual installation avoids the WordPress dashboard’s theme upload limit because the theme files are transferred directly to the server.
5.3. The Easy Setup Assistant Does Not Appear
The setup process can vary depending on the ListingPro version and configuration.
If the Easy Setup Assistant does not appear after activation:
- Confirm that ListingPro is active.
- Check whether the theme installation completed without errors.
- Look for theme-related notices or setup options in the WordPress dashboard.
- Check the documentation for your installed ListingPro version.
- Review possible plugin conflicts if the problem continues.
Avoid repeatedly reinstalling the theme before identifying the cause. Reinstallation may not resolve an underlying configuration or compatibility problem.
5.4. Demo Content Does Not Import Correctly
Demo imports can fail because of hosting limitations, incomplete downloads, missing dependencies, or configuration problems.
If the import fails, start by reviewing any error messages displayed during the process.
Then check whether:
- The plugins required for the demo are installed and activated.
- Your hosting environment meets the relevant resource requirements.
- The theme and demo files were downloaded completely.
- The importer stops because of a timeout or server limitation.
If the problem persists, review the documentation for your ListingPro version or contact the appropriate support team.
Avoid repeatedly running the importer without checking the cause, especially if the website already contains imported content.
6. Frequently Asked Questions
6.1. Can I Install ListingPro on an Existing WordPress Website?
Yes. You can install ListingPro on an existing WordPress website, but changing themes can affect the site’s appearance and theme-specific functionality. Create a complete backup before switching themes, then review your existing pages, menus, widgets, and theme-dependent content after activation.
6.2. Can I Install ListingPro Without Importing Demo Content?
Yes. Demo content is optional, so you can install and activate ListingPro without importing a demo. You can then configure the website manually, including creating a static homepage and adding the elements you need for your directory website.
6.3. What Should I Check Before Installing ListingPro?
Before installing ListingPro, make sure you have a working WordPress website, a hosting environment that meets the requirements for your ListingPro version, and the correct installable listingpro.zip file. You should also have administrator access and a complete backup if you are installing the theme on an existing website.
6.4. Do I Need to Install All ListingPro Plugins?
No. The plugins available with ListingPro can serve different features and integrations, so you should install the plugins required for your chosen configuration rather than installing every available plugin. Check the documentation for your ListingPro version to determine which plugins are needed for the features you plan to use.
6.5. How much does ListingPro cost?
ListingPro is available for $4.50 as a standalone purchase. If you need multiple premium plugins and themes, you can choose a PluginPro.org membership plan:
- Monthly: $14.50/month
- Quarterly: $39.50/3 months
- Yearly: $99.50/12 months
- Lifetime: $399.50
All plans include access to over 12,000 plugins and themes, original files, unlimited website usage, and regular updates. Choose a monthly plan for occasional downloads or a longer-term plan if you regularly need multiple products.
7. Conclusion
Installing ListingPro involves preparing your WordPress environment, uploading and activating the theme, installing the plugins required for your chosen configuration, and completing the available setup process.
You can install the theme through the WordPress dashboard or use FTP when the standard upload method is not suitable. After activation, the available setup tools can help with plugin installation and optional demo content import.
Before customizing your directory website, verify the theme activation, homepage, navigation, required plugins, imported content, and responsive layout.
Following these steps gives you a structured starting point for building a business directory with ListingPro. For additional product information and installation resources, visit PluginPro.org and consult the documentation for your ListingPro version.