
WordPress gives you a decent starting point for SEO, but it doesn’t handle meta titles, XML sitemaps, or schema markup on its own. That gap is exactly why Yoast SEO has become the go-to plugin for handling these technical details without touching a single line of code.
Installing it early, whether for a new blog, a business site, or an online store, saves you from having to configure metadata and structured data by hand later on. Yoast SEO takes care of most of that work automatically and gives you feedback right inside the WordPress editor as you write.
The installation itself takes only a few minutes, but a few things can trip up beginners: grabbing the wrong plugin, skipping the first-time setup wizard, or missing a setting that affects how search engines crawl the site. The steps below cover the full process, along with fixes for the installation problems people most often run into.
1. Before Installing Yoast SEO
Before installing Yoast SEO, it helps to know what the plugin covers and what you’ll need on hand first.
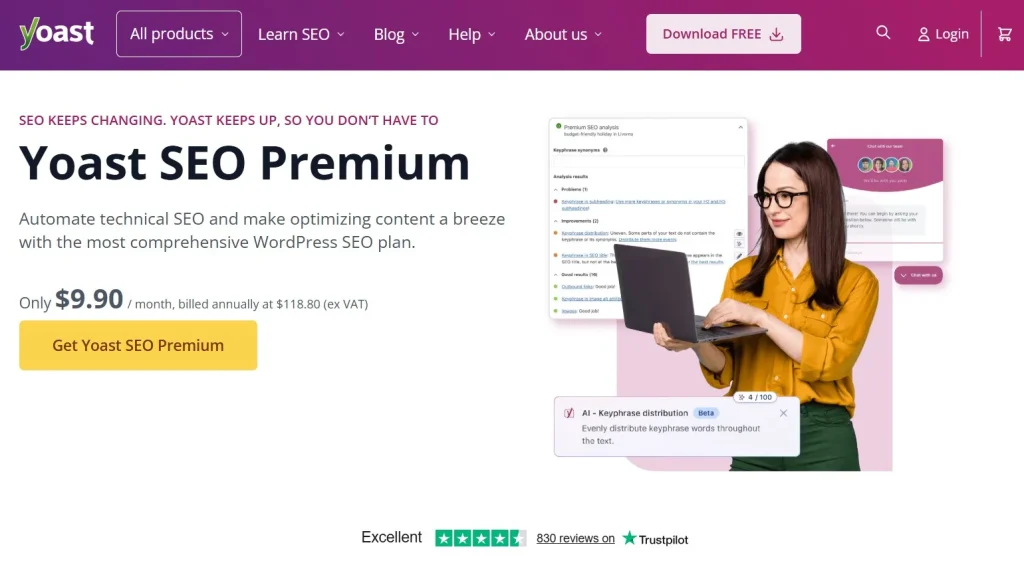
Yoast SEO manages page titles, meta descriptions, XML sitemaps, schema settings, canonical URLs, breadcrumbs, and readability analysis, all from your WordPress dashboard, without touching your site’s code.
Make sure you have the following ready before starting:
- Your WordPress website is already installed.
- You have an Administrator account.
- Your WordPress version is up to date.
- You have permission to install new plugins.
If you’re planning to use Yoast SEO Premium, you’ll also need access to your premium ZIP file and license after completing the basic installation.
Having these ready in advance keeps the installation smooth and helps you avoid troubleshooting later.
2. What You Can Do with Yoast SEO
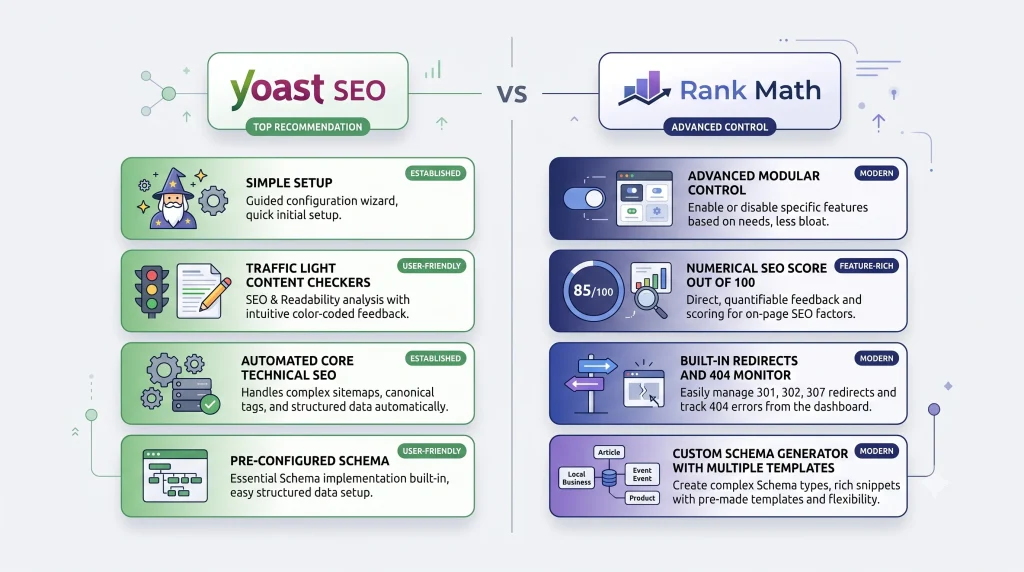
WordPress alone doesn’t give you the tools to manage modern on-page and technical SEO. Yoast SEO fills that gap by automating tasks that would otherwise take manual code changes or several separate plugins. After activation, it generates XML sitemaps, manages meta titles and descriptions, adds schema markup, controls canonical URLs, supports breadcrumbs, and adjusts robots meta settings, all from a single dashboard. It also analyses your content and readability as you write, and manages social media metadata so your posts display correctly when shared. The Premium version adds internal linking suggestions on top of that.
Because all of these features work together in a single plugin, Yoast SEO makes it easier for publishers to apply consistent SEO practices across posts, pages, and products without requiring deep technical knowledge.
3. How to Install Yoast SEO in WordPress
Before continuing, decide whether you want to install the free version from the WordPress Plugin Directory or upload Yoast SEO Premium. Both versions follow a similar installation process, although Premium includes additional tools.
3.1 From the WordPress Plugin Directory (Free Version)
For most users, installing the free version directly from the WordPress dashboard is the fastest option.
To install the plugin:
- Log in to your WordPress dashboard.
- Go to Plugins → Add New Plugin.
- Search for Yoast SEO.
- Locate the official plugin published by Team Yoast.
- Click Install Now.
- After the installation finishes, click Activate.
The installation usually finishes within a few seconds. Once activated, a new Yoast SEO menu appears in your WordPress dashboard.
3.2 Uploading Yoast SEO Premium
If you are using Yoast SEO Premium, download the plugin ZIP file before beginning the installation.
To upload the Premium version:
- Download the Yoast SEO Premium ZIP file.
- Go to Plugins → Add New Plugin.
- Click Upload Plugin.
- Select the ZIP file from your computer.
- Click Install Now.
- Activate the plugin after the installation is complete.
After activation, connect the website to your Yoast account if prompted. This connection may be required for official premium updates, support, and access to future releases.
Before uploading, back up your website, especially if it’s already live. Upload the original ZIP file without extracting it. If WordPress detects an existing version of Yoast SEO, it may prompt you to replace the plugin files. This is expected when upgrading to Premium.
3.3 Complete the First-Time Configuration
Installing the plugin is only the first step. You should also complete the initial configuration before optimizing your content.
Navigate to:
Yoast SEO → First-time configuration
The setup process may ask for information such as:
- Website type
- Organization or personal details
- Website name
- Organization logo
- Social media profiles
- Search appearance preferences
- Search engine visibility
These settings help Yoast SEO generate more accurate structured data and search previews.
None of these choices is permanent. You can revisit the settings later if your website, organization, or SEO requirements change.
3.4 Check That Yoast SEO Is Working
After completing the setup wizard, confirm the following:
- The Yoast SEO menu appears in your dashboard.
- SEO settings are available when editing posts or pages.
- The SEO analysis panel loads without errors.
- XML sitemaps are enabled, with no installation warnings shown.
As a final check, create a test post and try editing the SEO title, meta description, social preview, and focus keyphrase. If all of this works, the installation is complete.
3.5 Check Your XML Sitemap
Yoast SEO normally generates an XML sitemap automatically. Opening the sitemap is a simple way to confirm that this feature is working correctly.
Visit:
https://yourdomain.com/sitemap_index.xml
Replace yourdomain.com with your actual domain.
If the sitemap loads, Yoast SEO has generated the file successfully.
If the address returns a 404 error, confirm that XML sitemaps are enabled, clear your website cache, and resave your permalink settings before testing again.
4. Fix Common Yoast SEO Installation Problems
If you’ve followed every step but still can’t install or activate Yoast SEO, don’t worry. Installation problems are usually caused by server settings, plugin conflicts, insufficient permissions, or an incomplete plugin upload, rather than by the plugin itself.
Work through the following checks one at a time. After each change, try installing or activating the plugin again.
4.1 Outdated WordPress or PHP Version
Yoast SEO regularly updates its minimum WordPress and PHP requirements. Running an outdated version of either one is one of the most common reasons the plugin fails to install or activate.
Go to Dashboard → Updates to check your WordPress version, and check your hosting control panel for your PHP version (or ask your hosting provider if you can’t find it). Update whichever one is outdated, then try installing Yoast SEO again.
4.2 Plugin Conflicts
Sometimes another plugin interferes with the installation or activation process.
This is most common after installing:
- Security plugins
- Optimization plugins
- Caching plugins
- Other SEO plugins
- Custom functionality plugins
If the problem appeared after installing another plugin, temporarily deactivate recently added plugins and try activating Yoast SEO again.
If Yoast SEO activates successfully, reactivate the other plugins one at a time until the problem returns. Once you find the source of the conflict, check for an available update or contact the plugin developer before removing it permanently. In many cases, developers release compatibility updates shortly after major WordPress or Yoast SEO releases. You can also review the plugin’s support documentation to see whether the conflict has already been reported and resolved.
4.3 Theme Compatibility
Although rare, some older WordPress themes include outdated code that can interfere with modern plugins.
If you suspect your theme is causing the problem:
- Switch temporarily to a default WordPress theme such as Twenty Twenty-Five.
- Attempt to install or activate Yoast SEO again.
- If the installation succeeds, the issue likely originates from your previous theme rather than the plugin itself.
If switching themes resolves the issue, update your original theme or contact its developer. For a custom-built theme, ask the developer to check for outdated functions, hard-coded SEO features, or compatibility problems with the current version of WordPress.
4.4 Increase WordPress Memory Limit
Large websites or shared hosting plans sometimes don’t provide enough PHP memory during plugin installation.
Common symptoms include:
- Installation stops halfway.
- White screen after activation.
- “Allowed memory size exhausted” errors.
- Plugin activates but doesn’t load correctly.
Increasing your WordPress memory limit usually resolves these issues. Many shared hosting plans set conservative limits by default, so if you’re not sure how to change them yourself, your hosting provider can adjust them on their end.
5. What to Do After Installing Yoast SEO
Successfully installing the plugin does not necessarily mean that every important SEO setting has been configured correctly. Before optimizing your content, review the following areas.
5.1 Submit Your Sitemap to Google Search Console
Google may eventually discover your sitemap automatically, but submitting it manually can help you monitor processing and indexing problems.
Open Google Search Console, select the correct website property, and navigate to Sitemaps. Enter:
sitemap_index.xml
Then click Submit.
Once processed, the sitemap report can indicate whether Google has successfully read the file and highlight any sitemap-related errors.
5.2 Review Your Search Appearance Settings
Review the search appearance settings for:
- Posts
- Pages
- Categories
- Tags
- Media
- Archives
Most websites should allow posts and pages to be indexed. Categories, tags, and archives depend on your SEO strategy, so review each content type carefully before changing its visibility.
5.3 Make Sure Your Site Is Visible to Search Engines
Go to:
Settings → Reading
Make sure the Discourage search engines from indexing this site option is unchecked on a live website.
This setting is sometimes enabled during website development and forgotten after launch. When active, it can discourage search engines from indexing the entire website even when Yoast SEO is configured correctly.
5.4 Double-Check Your Site Representation Details
Verify that your website name, organization or personal details, logo, and social media profiles are all accurate. Yoast SEO uses this information to generate structured data that helps search engines better understand your website and how it should appear in search results.
5.5 Don’t Skip the Yoast SEO Notifications
Open the Yoast SEO dashboard and review any notifications or recommendations displayed after installation or an update. These messages may suggest completing missing settings, updating SEO data, or running a database optimization to keep the plugin working correctly. Taking a few minutes to review these recommendations helps ensure that Yoast SEO is fully configured and continues to perform as expected.
6. Recommended Plugins to Use with Yoast SEO
Yoast SEO handles many on-page and technical SEO tasks. Still, additional plugins can help improve website performance, manage redirects, analyse visitor behaviour, and support other aspects of your SEO strategy. The following plugins complement Yoast SEO without replacing its core features.
6.1 WP Rocket
Website speed is a factor Yoast SEO doesn’t control directly, yet it plays a real role in both rankings and user experience. WP Rocket addresses this through page caching, lazy loading, file optimization, database cleanup, and browser caching, all working together to reduce load times. Paired with Yoast SEO, it results in a website that’s both search-engine friendly and fast enough to keep visitors from bouncing before a page even finishes loading.
6.2 Redirection
As websites grow, URLs inevitably change, and without a plan in place, those changes can quietly break links and waste the SEO value built into old pages. Redirection handles this by letting you create 301 redirects, monitor 404 errors, and catch broken links before they affect visitors or search engines. Used alongside Yoast SEO, it helps keep your site architecture intact through content updates, restructuring, or full site migrations.
6.3 MonsterInsights
SEO isn’t only about rankings; it also comes down to understanding how visitors actually behave once they land on your site. MonsterInsights connects Google Analytics with WordPress, giving you visibility into organic traffic, landing page performance, search behaviour, and content engagement, all from within your dashboard. Combined with the optimization Yoast SEO already provides, this data helps you make more informed decisions about what content to create or improve next.
7. FAQ
1. How do I install Yoast SEO on WordPress?
Installing Yoast SEO only takes a few minutes. From your WordPress dashboard, go to Plugins → Add New Plugin, search for Yoast SEO, install the official plugin, and activate it. After activation, complete the setup wizard to configure your site’s basic SEO settings before publishing content.
2. Do I need Yoast SEO Premium?
Not necessarily. The free version includes the core SEO features most websites need, including XML sitemaps, meta titles, meta descriptions, schema markup, and content analysis. Yoast SEO Premium is worth considering if you need features such as redirect management, multiple focus keyphrases, and internal linking suggestions.
3. Why can’t I install Yoast SEO on my website?
Installation problems are usually caused by an outdated WordPress or PHP version, insufficient server resources, plugin conflicts, or uploading the wrong plugin file. Checking these areas first resolves most installation issues without reinstalling WordPress.
4. How can I tell if Yoast SEO is working correctly?
After installation, you should see the Yoast SEO menu in your WordPress dashboard and SEO settings when editing posts or pages. You can also open your XML sitemap to confirm that Yoast has generated it successfully.
5. Where can I download Yoast SEO Premium?
If you’re looking for Yoast SEO Premium, you can purchase it from the official Yoast website or choose a GPL version from PluginPro. PluginPro provides regularly updated GPL-licensed versions of Yoast SEO Premium, along with hundreds of other premium WordPress plugins and themes. If you manage multiple websites, a PluginPro membership can be a cost-effective way to access the tools you need from one place.
8. Conclusion
Learning how to install Yoast SEO is only the first step toward improving your website’s search visibility. After activation, complete the initial configuration, verify your sitemap, review your search appearance settings, and monitor indexing through Google Search Console. Keeping the plugin, WordPress, and PHP environment updated will also reduce compatibility problems as your website grows.
Whether you’re managing a personal blog, a business website, or multiple client projects, correctly configuring Yoast SEO provides a more reliable foundation for long-term organic growth. PluginPro offers regularly updated GPL-licensed versions of Yoast SEO Premium, along with other premium WordPress tools and practical guides for building and maintaining WordPress websites.